4 Steps to Dry Needling
Authored By:

Yesterday, students in Prague saw their art come to life through a technique called dry needling. The process required various steps and was far from easy, but the result of students' work was stunning! In creating a dry needle masterpiece, art students followed these 4 steps:
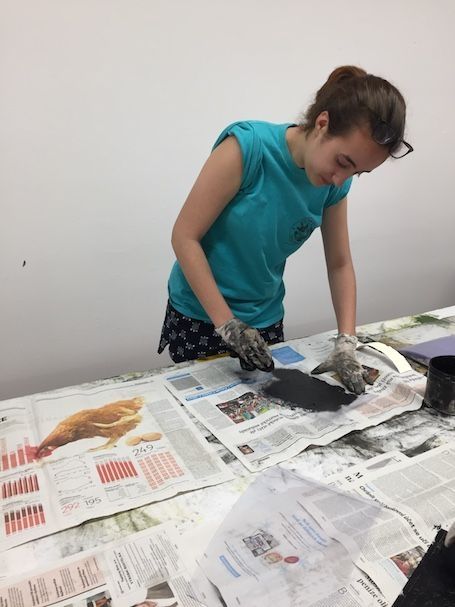
1. Etch a design into the plastic foil.
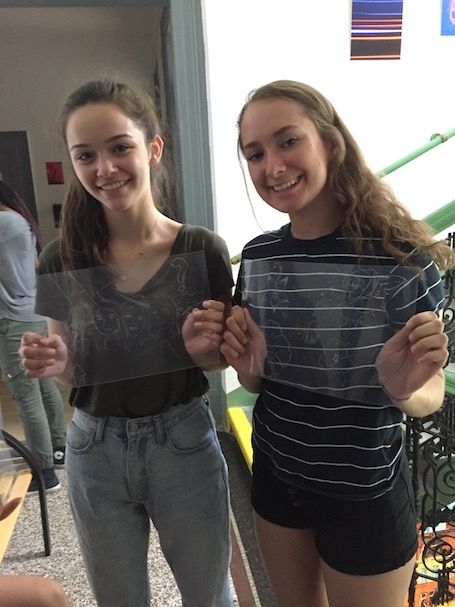
This step was the longest and most difficult. For the most part, students first sketched their designs on regular paper, then traced them onto the plastic. Etching into the plastic took a fair amount of elblow grease, and students spoke of hand cramps and muscle soreness as they worked to complete their etchings. Most students had never tried out this technique, so there was plenty of trial and error involved in discovering how exactly to use the needle tool, how to achieve the desired shading and depth in the work, and how to keep designs precise when they required much more pressure than a pencil sketch.
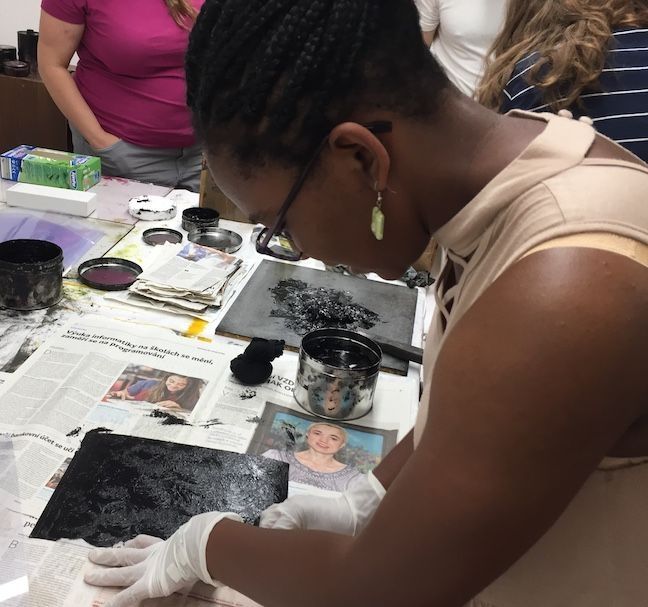
2. Thoroughly cover the design with specialized ink.
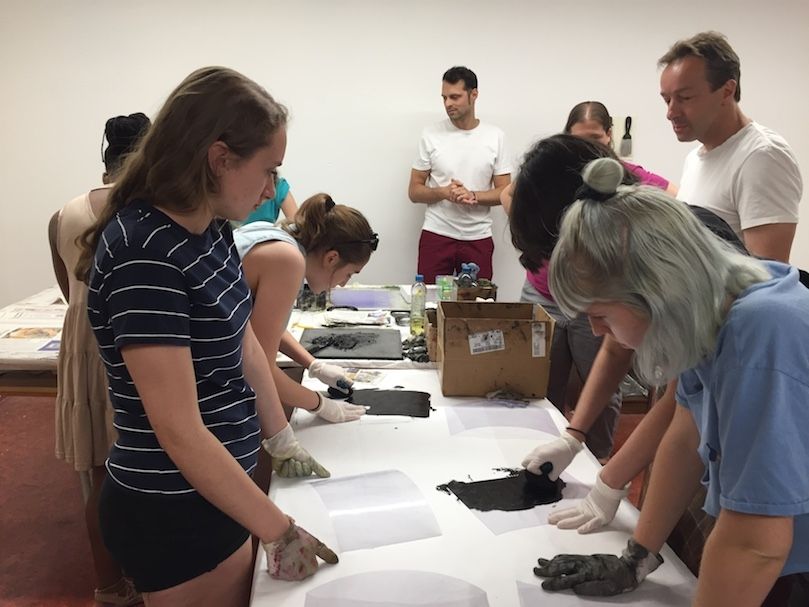
At the Art and Design Institute, an instructor modeled this step for the group. It required gloves and was rather messy, but students got right into it!
3. Clean the ink off of the plastic foil while still leaving ink inside the etching.
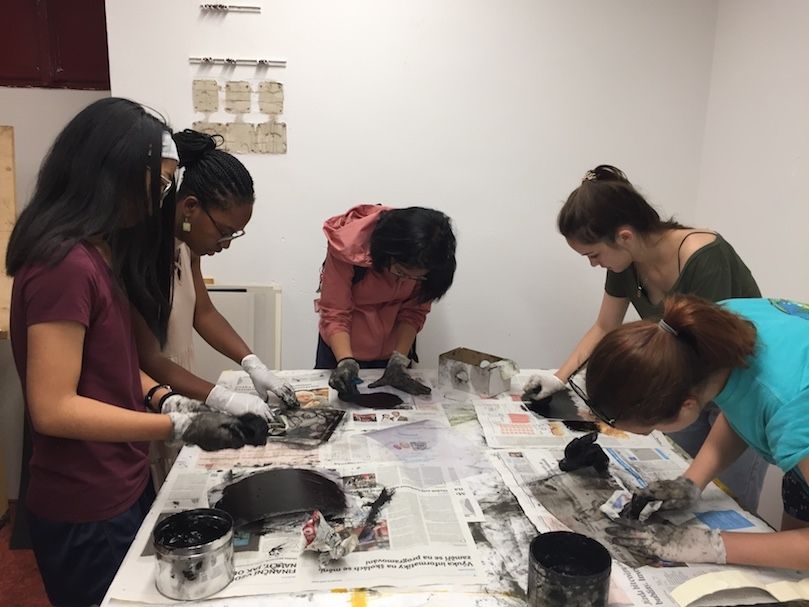
Three mini-steps go into this big one! First they used a dirtier rag to scrape some excess ink off, then they went to a cleaner rag, then newspaper to finally whipe off all of the remaining ink from the plastic. If they over-cleaned the foil, they could accidentally pull some ink out of their design. If they didn't clean it enough, the design could come out with extra dark marks where there should've been blank space. It was a delicate balance, but students impressed the Art and Design staff and produced great results!
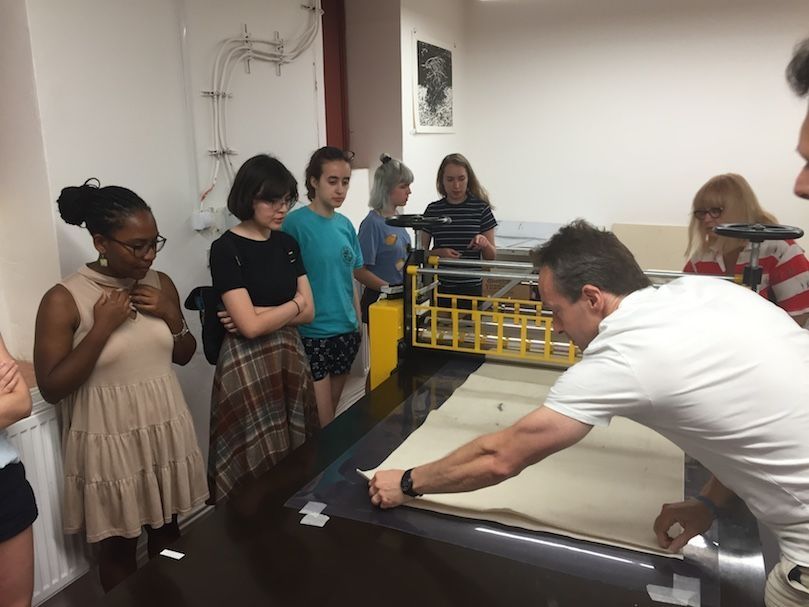
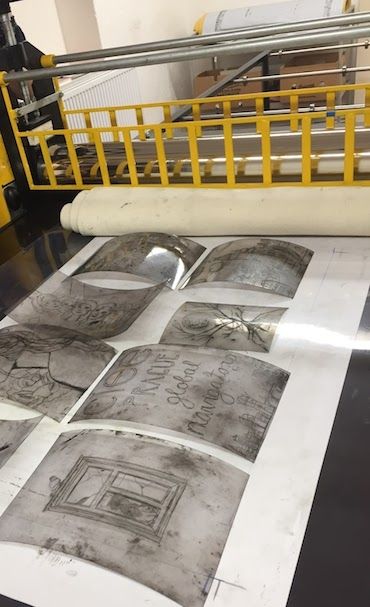
4. Send the design through a specialized press machine to print.
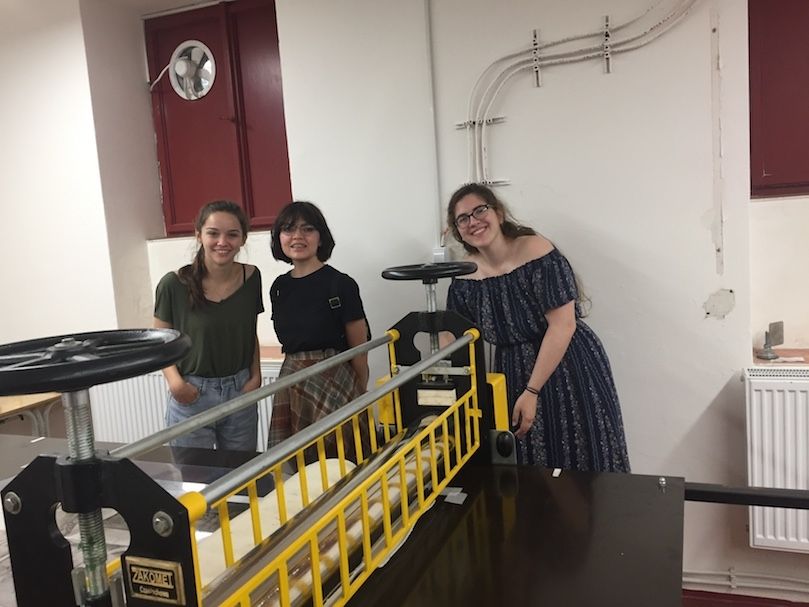
The Art and Design Institute we're attending owns the largest press in Prague! Staff helped us align our work onto wet paper and send it through the large machine to press the ink out of the plastic.
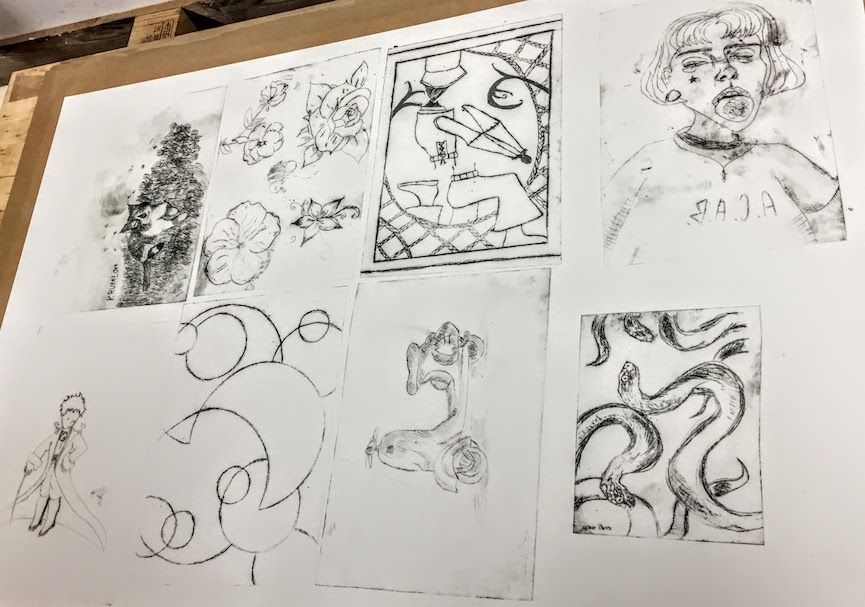
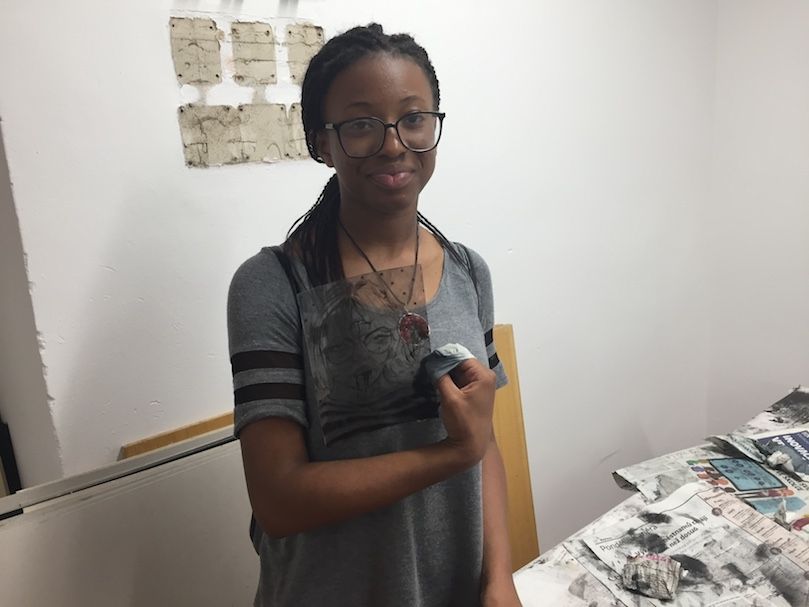
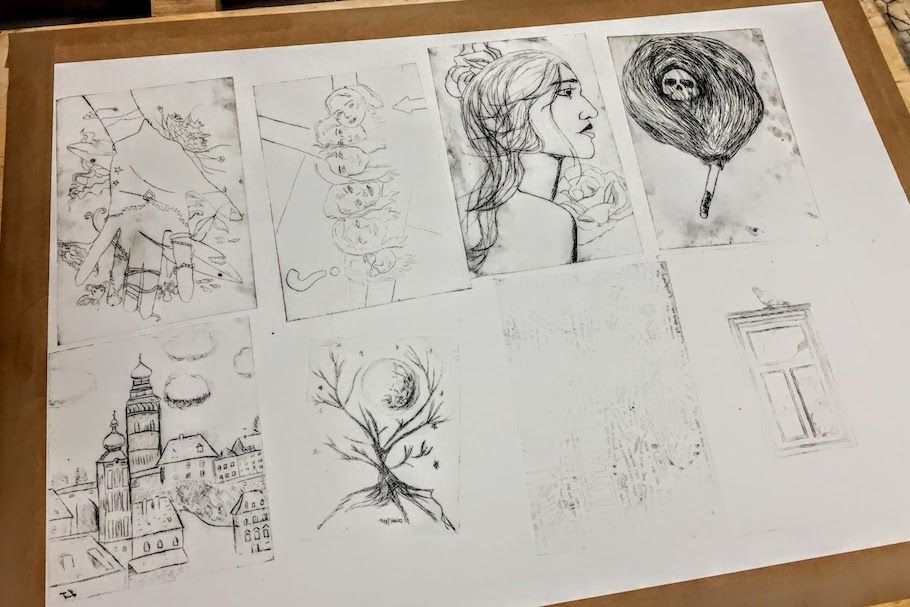
The variety and skill in all of our students' work is incredible, and we are so proud of this group of artists! The students will get to keep their artwork, and will take home their plastic foils in case they ever come across another press and would like to add on or reprint their work. It was exciting to try something new for the whole group, and we know there is much more learning to come!
Related Posts
From Lessons to Landmarks: Our First Steps in Prague
In their first few days abroad, our HSSA Prague students stepped into the heart of the city, where cobblestone streets lead not just to famous landmarks, but to their first... keep reading

Český Krumlov Excursion
The weekend journey to Český Krumlov, a town often referred to as the "Pearl of Bohemia," began on Friday afternoon. The students left Prague filled with anticipation for what lay... keep reading
Kutná Hora: Week 1 Weekend Trip
Saturday morning began with a 9:00 AM departure from Prague, with the students buzzing with excitement for their adventure to Kutná Hora, a town steeped in rich history and famed... keep reading